DIY open shelving
I am so excited to share this DIY open shelving project with you!
I’ve been wanting to make this open shelving for our guest bathroom for so long. I had been trying to find the perfect weathered and distressed board and finally found it at Round Top Antiques festival last fall. Unfortunately, we have just been busy and haven’t gotten around to making it until this past weekend. I am really trying to take advantage of the “stay at home” order and catch up on home projects.
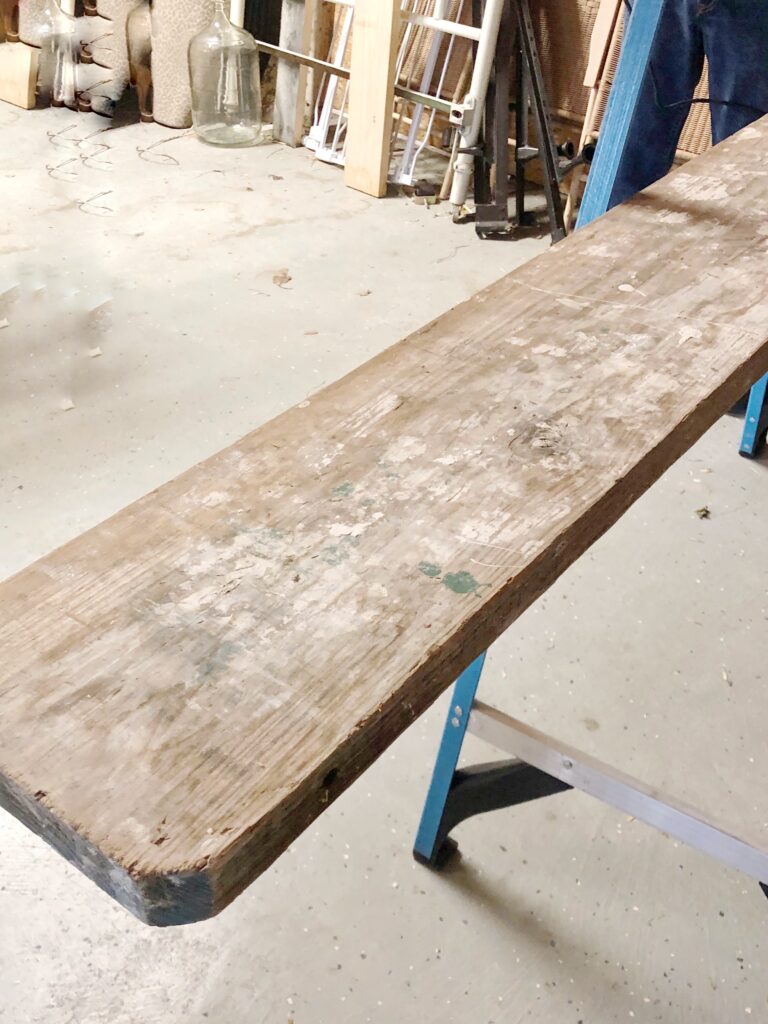
To get started, we measured the space above the toilet where the shelves would go and cut 2 – 24″ pieces from this 8 ft. long board. We used 4 pipe and floor flange pieces to create the brackets. The pipe comes in different widths and we used 1 1/4″.
Our board was 9″ wide, so we used 10″ length so the pipe was slightly wider than the board. We put a cap on the ends so the boards won’t slip off.
Since we did the project I actually found a set of all the pieces for a fraction of what mine cost. They are black, instead of galvanized, but you can find those here.

We created a make shift saw horse (because we’re fancy like that) to cut the boards.

Next, we decided the height of the shelves and the width we wanted the brackets to be. We weren’t able to hit a stud in the wall and keep the brackets centered, so we used wall anchors in each of the 4 holes on the flange pieces. I don’t plan on putting anything super heavy so those should hold just fine.


Now that the shelves were in place it was time to start styling.
I tried several different things on them and moved it around. My first try at it, I used a large oval brown transferware platter on the top shelf for a little backdrop and interest.

Next up, I tried a large rectangle silver tray. I decided I liked the tray the best but still really wanted to use the platter, so this is what I ended up with. I’m sure it will get moved around and restyled over time, but I’m happy with it for now.

This project was fairly easy and only took 1 – 1 1/2 hours total. I hope you found this helpful and try your own DIY open shelving.
Let me know if you do, I would love to hear about it.
blessings,
michele
Thank you so much!! You are the best!
I love open shelving! This looks gorgeous!
Thanks so much Wendy! I was so happy with how this turned out in my guest bathroom.
Thanks so much for checking it out!
blessings
michele